Thank you to Tarte Cosmetics for gifting me with these fantastic products. I’m officially hooked!
When you know you’ve got a full day ahead of you, and I’m talkin’ those hectic, crazy days, you certainly don’t want to spend any precious moments fiddling with your appearance. That being said, if you’re like me it’s important that you look good (or at least half-decent) on busy days. You might be seeing a lot of people you know, or find yourself in at least one high-pressure meeting. Whatever the case may be, the goal is to get ready in the morning and spend little time and effort later in the day on your makeup or outfit.


Day to evening make up in action! I was busy with blogger and influencer work all day before heading out to a dinner date with my girls.
Thank you to my good friend Katrina Kryza for snapping these pics before we stuffed our faces (and drank peach belinis).
Before I was off on maternity leave it wasn’t uncommon for me to leave the house for work by 7:30 in the morning and not return until well past sundown. I’m someone who has spent her career juggling full-time work and a side hustle (you can read all about my work here). I often had days where work in the office or classroom was followed by a coffee meeting and finally an evening event (phew, I’m tired just typing that). On these long days, it’s best to stay focused on the task at hand and rest assured that you look appropriate while doing so.

With a few things stashed away in your purse, your makeup can go from coffee to cocktails in 5 minutes flat.
So how do you really pull this off? Creating an outfit that can go from work to an evening out is part of it (check out my tips and tricks for that in “From Work to Play: Styling Your Workwear”). Strategically planning your makeup is an equally practical move. You don’t want to be rushing home mid-day to change up your entire look unnecessarily. If you don’t want to wear a deep smokey eye or shimmery highlighter to work it’s easy to make these additions later with the right base. You can simply add to your look with a few products you’ve stashed away in your purse. Bam, from coffee to cocktails in 5 minutes flat.
I created this makeup look by incorporating Tarte products I’m incredibly impressed with into my routine. After testing these out for over two months now, they’ve become products I can’t live without. Honestly, I wasn’t asked by the brand to create any of this content, but after trying out their makeup I decided it’s just too good not to share.
Watch the video tutorial below to recreate this day-to-evening look. If you prefer a written step-by-step, I’ve included that below as well. All the products used here, including Tarte products, other favs, and all tools (such as beauty blenders and brushes) are linked throughout, at the end, and in the STRUCKBLOG Shop.
Daytime Look
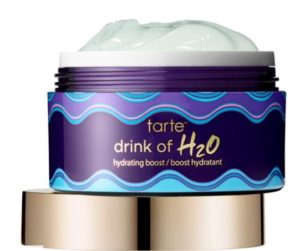
MOISTURIZE:
- Prep your skin by doing your regular skincare routine. Your face needs to be moisturized for makeup to apply and wear properly. I love the light texture of the Drink of H2O Hydrating Boost Moisturizer, especially if I washed my face earlier and my skin feels somewhat dry. It’s light enough that you can put it on right before makeup without waiting for it to absorb. Don’t forget to apply it to your neck as well.
FOUNDATION:
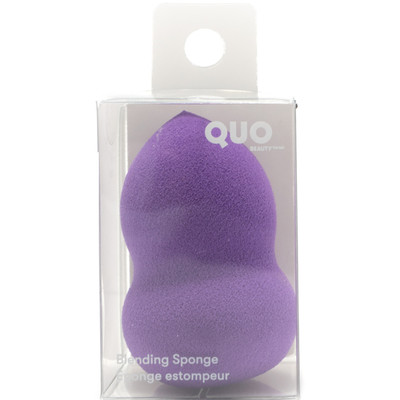
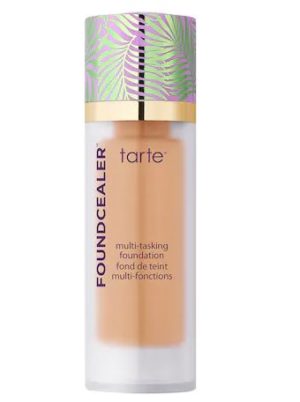
- Pump out a dab of Babassu Foundcealer Skincare Foundation (I use colour fair-light neutral) on to a beauty blender/foundation brush. I find this blender works well for me (it’s $8, can’t go wrong). If you’re looking to splurge, I’ve heard amazing things about this one too.
- Spread foundation out on the blender with your finger and apply to your face with a dabbing motion.
- Apply to the largest parts of your face first. I start with my cheeks as I have acne scarring and want the most coverage there.
- Apply all over until you’re happy with the coverage you have achieved. Don’t forget to blend down onto your neck.
UNDER EYES:
- Use the Shape Tape Contour Concealer (I use colour porcelain beige) under your eyes to cover dark circles.
- You can add small dabs under your eyes with the applicator, or use your finger to apply a small amount from the rim of the product.
- A little goes a very long way with this product so only start with a small amount. Less is more! Blend with your finger under the eyes, all around, and on to your lid.
- Pro tip: Using the fourth finger is best as under-eye skin is delicate and this finger is the most gentle.
- Finally, blend with the beauty blender (no need to add product) for a seamless application.
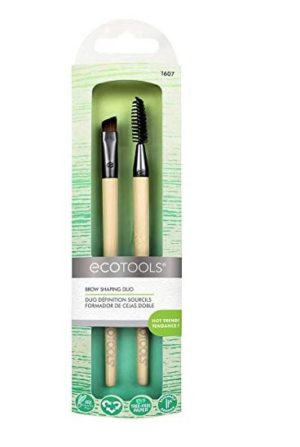
BROWS:
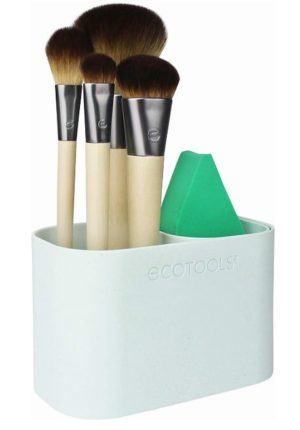
- You need two brow tools for this part. I still use the EcoTools brushes I spoke about in this post over a year ago, including the EcoTools Angled Brow Brush that is now sold as a set with a spoolie (it’s under $4).
- This one is like a two-in-one and would also work well. The spoolie you see me using in the video has an end I don’t even use, so I wouldn’t say it’s entirely useful.
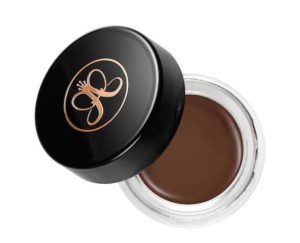
- Using the angled brow brush apply Anastasia Dipbrow Pomade (I use colour Taupe) to your brows. Gently allow the brush to touch the product, don’t dunk it in! You need only a little.
- Start at the tail end of your brows (like you’re outlining a picture) and work your way into the interior (like you’re colouring in the picture). The tail and arch of your brow should be defined whereas the head of your brow should softly blend into the rest to achieve a natural look.
- Fill in the head of your brow last with whatever brow product is leftover on your brush to achieve this.
IMPERFECTIONS:
- Use your finger to apply the tiniest amount of concealer to any imperfections on your face. All the product you’ll need is on the rim of the bottle. Don’t overdo it! You can always add more, but it’s hard to blend it away


EYES:
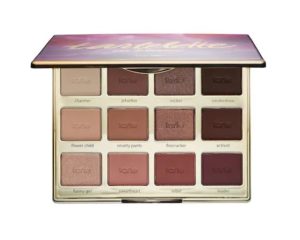
- You only need the Tartelette In Bloom Clay Palette to create this eyeshadow look (honestly the most practical and easy-to-use palette I have ever tried).
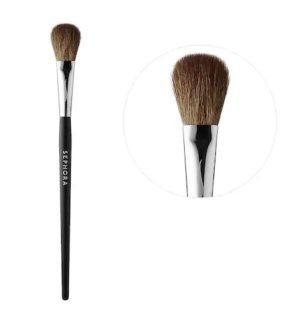
- Using a blending shadow brush apply charmer all over the lid. This brightens the lid and also acts as a base to keep colours from creasing. If you have any concealer that has done so, just blend it away with your finger first.
- Use the same brush to add funny girl to your entire lid.
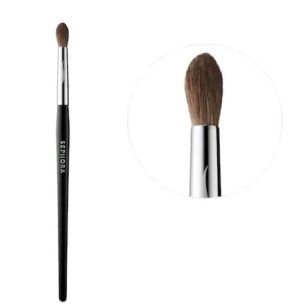
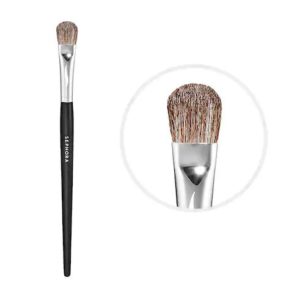
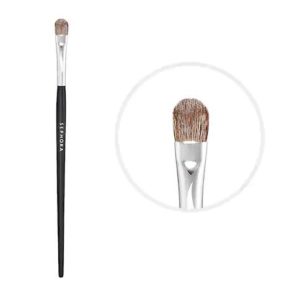
- Grab your defined crease brush. I use this one from Doll 10 in the video. I would recommend this EcoTools set that’s under $10 as I use these brushes as well and this way you’d have everything you need to complete this look. If you’re looking for a single brush, this would work too.
- Use the tip of the brush to apply rebel to the outer corner of your eye, sweeping across the lid into the crease.
- Next, you need a small shadow brush like this one to apply firecracker to the corners of your eyelid. This adds depth and creates a subtle smokey eye.
- If you like you can go back to the blending shadow brush and apply a little more charmer to just under your brows to lighten this area up.
- The tip of the small shadow brush also doubles as an eyeliner tool. Outlining your eyes with shadow is much easier than using actual eyeliner.
- Tap the tip into firecracker and line under your lower lash line from the outer corner into the center.
- I use a little smudge brush to create contrast between the outer and inner corners and apply flowerchild to the interior corner of my lid, the corner of my eye, and under the interior portion of my lower lash line.
- You can use the blending shadow brush again to blend everything together if you like.
CONTOUR:
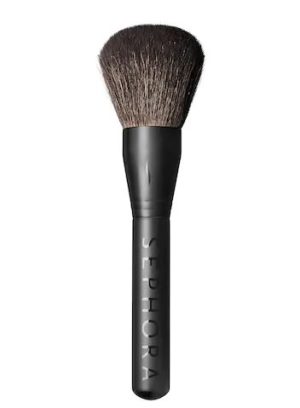
- There are many brushes you can use for contouring. Anything with a bit of a tip or with a precise application will work. I use the EcoTools Full Blush found in this set because it has a point to it.
- Contour with a colour slightly darker than your skin tone. I use Anastasia Beverly Hills Contour Kit in Light to Medium.
- Make an exaggerated kissy face (like the fishies do) and sweep from your ear down to your chin in a diagonal angle.
BLUSH:
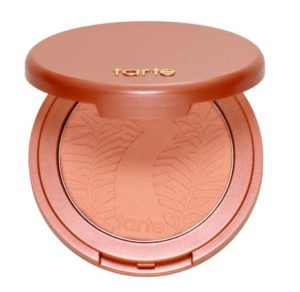
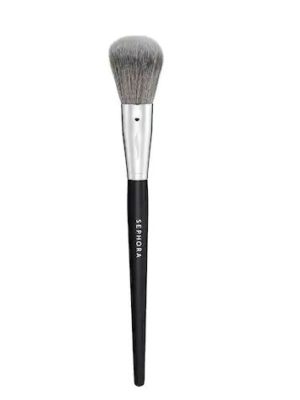
- Use a blush brush, such as the EcoTools Precision Blush Brush to apply Tarte Amazonian Clay 12-Hour Blush in exposed.
- Smile! This will make it obvious where the blush should go. As a guide, it should be above where you contoured.
- To build colour and create a more natural look, apply a darker hue of blush on top. I used colour natural beauty. Just a few dabs of this goes a very long way!

HIGHLIGHTER:
- I use this small brush to put on highlighter as I like to be precise about where it is applied. This highlight brush is specifically made for this application and would also work well.
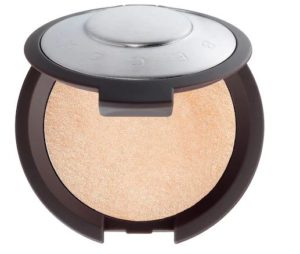
- Dab into highlighter. In the video, I’m using Becca Shimmering Skin Protector in Moonstone. The highlight powder in my Anastasia Beverly Hills Contour Kit ran out and I wanted to try something new (the one in the kit works just as well). I like these particular highlighters as they blend the contour and blush together nicely.
- Highlighter should be applied where sunshine and light will reflect off of your face (and where you want it to). I apply it to the very tops of my cheeks, on my nose, and a little above my brow.
LASHES:
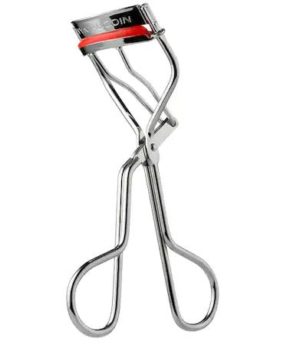
- Curl your lashes with a wand. I have an older version of this one and it’s served me well over the years.
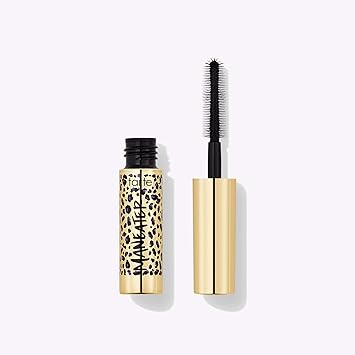
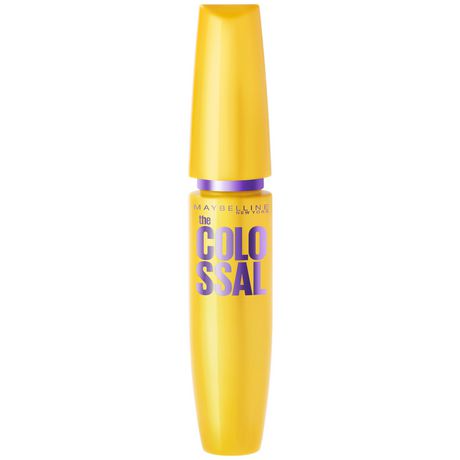
- Once curled, apply Maneater Voluptuous Mascara in an upwards motion.
- This funky little wand does a great job or coating and separating the lashes. But, should you have a few that clump together, simply use a cotton swab to wiggle them apart before they dry.
- Use the tip of the mascara wand to coat the bottom lashes, starting with the outer edges.
- Try to avoid getting mascara on your skin, but should this happen don’t fret. You can use the same cotton swab to quickly erase any bits of mascara that accidentally get onto your skin during application.

Who knew a cotton swab would be one of my makeup must-haves.
LIPS:
- Use lip balm to moisturize before applying lipstick.
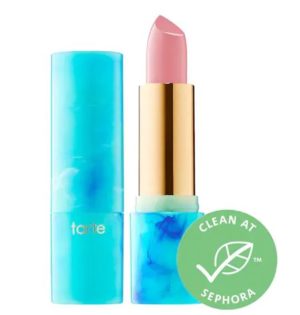
- For daytime, I use something light and neutral coloured such as Tarte Color Splash Lipstick in Salt-lyfe.
- You may notice in the video that I use a lipstick brush to apply the colour. I don’t usually do this with lighter shades, but I sadly broke this particular lipstick by accident! BUT it doesn’t go to waste if you use a lip brush, which is handy to have for darker hues anyway. I also have a retractable version I stash in my purse on the go. This one does both!
SETTING POWDER:
- I use the Shiseido Translucent Loose Powder last as I find it’s easier to correct any mistakes or touch up any imperfections before this is initially applied. I do so with a big powder brush (linked is the upgraded version that’s now being sold). For a thriftier variety, check out this one which is currently on sale.
- Dab the brush into the powder and shake off any access. You can use the lid to do this.
- Apply powder wherever you want to decrease shine, such as your forehead, on your chin, and around your nose.
- I use the EcoTools Controlled Setting Brush which was included in this Airbrush Complexion Kit to fine-tune where the powder is applied.
- This is great for setting the makeup and preventing it from creasing or running (don’t you hate when mascara runs? This stops that!)


Evening Look
EYES:
- Grab your defined crease brush again and apply rocker from the Tartelette In Bloom Clay Palette to the outer edge of your eyelid and along the crease.
- To create a true smokey eye, build activist on top in the very outer corner with the small shadow brush.
- Using the tip of the very same brush dab smokeshow to the exterior of your bottom lash line and along the top lash line. Focus on the outer part of the eye more so than the interior.
- Using the smudge brush once again, reapply a little funny girl to your upper eyelid, focusing on the interior and sweeping towards the middle. Remember, you already have this applied from the daytime look, but should you like to create more contrast between the lighter shades you can touch this up.
- Make sure to dab some funny girl (or highlighter works too) to the corner of your eye. This makes your eyes look bigger as it catches the light.
HIGHLIGHTER:
- For evening, you may want to use a heavier and cream-based highligher product.
- The product I use in the video is no longer available. I would recommend something like this glow stick as it’s portable and the right consistency (I’ll be purchasing it myself when what I have runs out).
- You can of course just add a little more of the highlighter you used for daytime (I used the Becca Shimmering Skin Protector in Moonstone as mentioned above).
- I use the same small brush to apply this in the same spot (on an angle on my cheek where the light hits).
LASHES:
- Reapply Maneater Voluptuous Mascara simply because a little eyeshadow powder may have fallen on to your lashes. This cleans them up and adds some extra va va voom.
- Don’t forget that trusty cotton swab. It acts as an eraser if a little gets on your skin!
LIPS:
- For the evening I like to wear a bolder lip colour, such as Tarte Colour Splash Lipstick in escape.
- Again, I use the lipstick brush, because it is easier to apply with precision around the edges when using a darker shade (you can just use the lipstick itself for the interior of your lip).
- Blot together, show yourself some love in that mirror, and off you go!
Shop The Post


Be sure to tag me on Instagram, Twitter, or Facebook if you try any of these products or recreate this look. If have your own tips for makeup that transitions from day to night, leave them in the comments below.
For more of my favourite products, don’t forget to check out the STRUCKBLOG Shop.
Anna
Disclosure: Tarte Cosmetics products featured in this post were gifted. All opinions and comments are my own. STRUCKBLOG uses affiliate links. For more information about this and the use of sponsored products please see my disclaimer page.
Want to see your brand/business reviewed on STRUCKBLOG? Visit my Work With Me page to download a copy of my Media Kit.


wow your make up is so sexy and natural.
I like your brows a lot.
xoxo
franzi from powder brows
Author
So kind Franzi! Thank you so much.